


 New Code Sent!

How to install an induction cooktop or range
Installing an induction cooktop or range often involves a bit more than simply sliding an appliance into place. Use this guide to learn the key questions to ask before and during installation, from understanding electrical requirements and confirming proper spacing to preparing your kitchen for a smooth setup process.


Your subscription was successful
Thank you for signing up. Keep an eye on your inbox for our next newsletter.
Sign Up for More Insights to Stay Connected
Enjoy articles like this? Get helpful guides and appliance care tips sent straight to your inbox.

Can you install an induction cooktop or range yourself?
It depends on your setup. If you’re replacing an existing induction cooktop or range and already have the correct voltage and amperage, a professional electrician might not be required. You might still want to ask a friend to help you, especially when removing the old cooktop (and installing the new one)—and especially when moving a range—since these appliances are heavy and require help when moving. Regardless, be sure to follow the manufacturer’s instructions.
However, if your home needs new wiring, a specialized outlet or a kitchen reconfiguration, consulting a licensed electrician or contractor is recommended before proceeding.
Is induction installation different from standard electric installation?
Not significantly. Induction cooktops generally follow the same installation steps as electric cooktops. In some cases, depending on your home’s existing wiring and the model of cooktop or range you buy, you may need a specialized outlet or new wiring, which might require professional help.
Can you replace a gas cooktop or range with induction?
Yes, but it requires professional help. Switching from gas to induction often means capping the gas line and adding a new electrical connection, work that should only be handled by a licensed professional.
What cookware should you plan for?
Induction appliances generate electromagnetic energy, so you have to use ferromagnetic cookware (like enameled steel, cast iron or stainless steel designed for induction cooking) to cook on an induction cooktop or range. Not sure if your existing cookware is compatible? Try the magnet test: If a magnet sticks firmly to the bottom of the pan, it will work on an induction cooktop.

What should you check before installing an induction cooktop or range?
Before starting any installation, there are a few key details to consider, including the space the appliance will take up and what wiring it will require. Keep reading to learn more about installing an induction cooktop or range.
Measure the appliance space, cutout and clearances of your cooktop
Before installing, confirm your cooktop will fit the existing cabinet cutout. Note that cooktop dimensions are typically larger than the cutout so that the appliance aligns properly with your counters.
Measure from the front edge of the cutout to the back. Take two depth measurements: one closer to the right side and another closer to the left side. If there’s a discrepancy, use the smaller dimension. Then, measure the width of the cutout from the right edge to the left edge using a measuring tape. To ensure accuracy, take a measurement near the front of the cutout and another measurement near the back of the cutout. Again, if measurements vary, always use the smallest dimension.
Clearances matter too. Aim for at least 30 inches of clearance above the cooktop and one foot on each side. It’s also important to leave at least three inches of clearance between the back of the cooktop and any walls to allow for proper ventilation and heat dissipation. Requirements vary by model, so always consult your product’s installation guide before making any cutouts.
Measure the appliance space, cutout and clearances of your range
Before installing your induction range, take the following measurements to confirm your space meets the required dimensions and clearances.
Start with the cutout opening. The minimum opening width is generally 30 inches. Cabinet doors or hinges must not extend into the cutout.
Next, check the clearances above the cooking surface. A minimum of 30 inches of clearance is required between the top of the cooking platform and the bottom of an uncovered wood or metal cabinet. This clearance can be reduced to 24 inches if the cabinet bottom is shielded with flame-retardant millboard covered in sheet steel, stainless steel, aluminum, or copper of the specified thickness.
Finally, the maximum depth for upper cabinets is 13 inches, and the range may be installed next to combustible walls with zero clearance.
Note that all given dimensions are minimum clearances. Make sure that any installations follow the clearances specified on the model and serial rating plate located behind the oven door.
Check the electrical requirements
Induction cooktops and ranges typically require a junction box that is 240 volts. If you’re replacing an existing cooktop or range, check that the amperage of your new model matches your existing circuit; newer models typically require 40 or 50 amps. Always check your specific model’s installation guide to confirm the exact electrical specifications needed.


Tools needed for installation
Keep your owner’s manual handy as it will include model-specific instructions and a full tools list. At a minimum, you’ll want to have the following on hand:
Tape measure
Screwdriver
¼" nut driver (note that sizes may vary)
Pliers
Marker or pencil
Power/circuit tester
Pipe wrench

How do you install an induction cooktop?
Get an idea of what’s involved in induction cooktop installation by following the steps below, which include disconnecting and removing the old appliance. Be sure to consult your product’s installation manual for model-specific guidance. If your installation involves reconfiguring your kitchen or updating electrical wiring, it’s best to hire a professional.

1. Unbox and review instruction manual
Before getting started, remove your new appliance from its packaging and set any loose accessories to the side until installation is complete. Take time to review your instruction manual thoroughly before beginning, as it will include model-specific installation steps, a full tools list and any clearance or electrical requirements unique to your appliance.

2. Disconnect and remove the old appliance if replacing
Start by shutting off power at the fuse box and using a circuit tester to confirm all wires are fully de-energized. Label or photograph the wiring before disconnecting—your new cooktop will likely connect the same way as long as it uses the same fuel source.
Once power is off, remove any cabinet doors or drawers in the way, then detach burner covers, grills and caulking. Unscrew any brackets holding the cooktop in place and, with the help of another person, push up from the bottom to lift it out.
Verify that your existing junction box is at least 240 volts and that the amperage matches your new model before proceeding; if not, consult an electrician.

3. Set the cooktop and secure appliance
First, screw the spring clips into the new cooktop. They will snap into the brackets on the cutout to hold the appliance in place. With the help of a second person, lift the new cooktop into place, making sure all wiring goes into the opening before positioning the cooktop into the spring clips until there is an audible click. For granite countertops, double-sided adhesive tape on the underside can provide extra security.

4. Connect to power and test the controls
Once the cooktop is secured, restore power at the fuse box. If the cooktop does not work after turning on the power, check that a circuit breaker has not tripped or a household fuse has not blown and consult the troubleshooting section of your use and care guide. Once everything is working, wipe down the surface to remove any dust or debris from installation.
Shop Whirlpool® Induction Cooktops
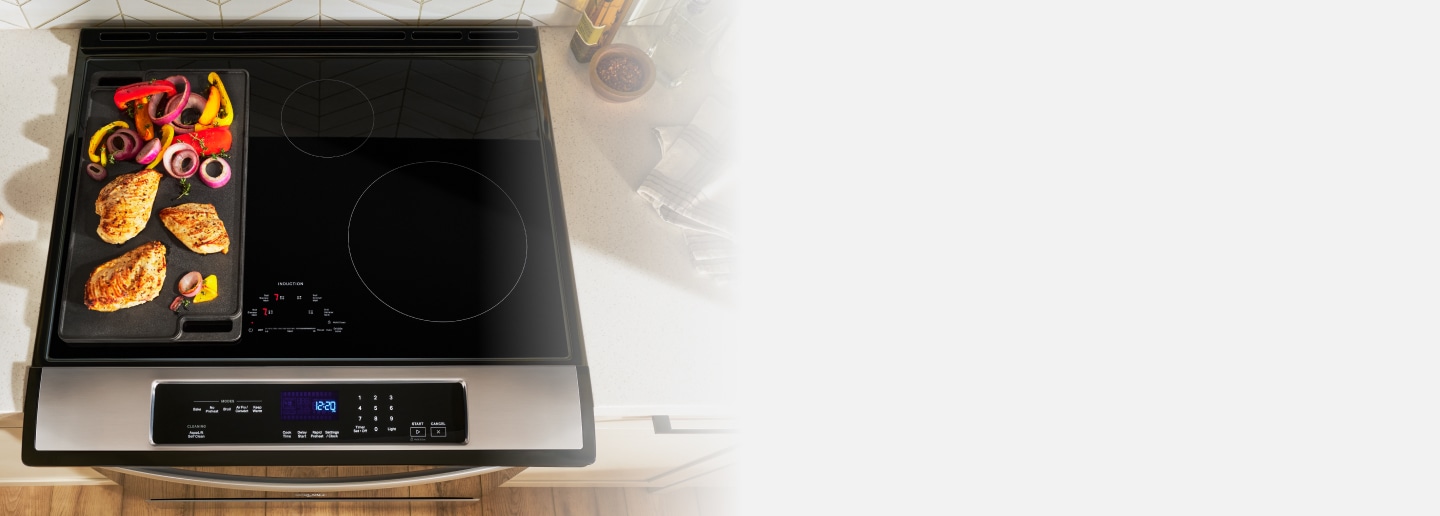
Whirlpool® Induction Cooktops
Get responsive temperature control
Induction Cooktops from Whirlpool brand offer fast cooking and responsive temperatures, paired with a sleek, easy-to-clean surface
How do you install an induction range?
If you are replacing your existing range with a model with the same dimensions, it may be as simple as swapping one range out for another. However, if you’re replacing your old model with a new range, follow the steps below.

Unpack your range
Remove all shipping materials, tape and film from the range. Keep the cardboard bottom underneath until installation is complete, as you’ll need it later in the process. Take out the oven racks and parts package, then check that everything is accounted for before moving forward.

Install the anti-tip bracket and slide in range
A range without an anti-tip bracket can fall forward and create a hazardous situation. You can mount the bracket to the floor or wall depending on your setup (check your owner’s manual if you have a stone, masonry or mobile home floor, as mounting requirements vary). Always verify the bracket is engaged before operating the range. Now, you can slide your range into its final position.

Level the range
Use a wrench or pliers to adjust the four leveling legs until the range sits level both side to side and front to back. The top of the cooktop should be flush with your countertop unless you’re using a trim kit, in which case it should sit slightly higher. Check your owner’s manual for trim kit specifications. Note: A level range is important for both baking performance and self-cleaning functions.

Complete the installation
Before powering your range on, confirm all parts are installed, the range is level and the anti-tip bracket is engaged. Clean off any waxy residue from shipping with a mild soap solution and dry thoroughly. Plug in the range, turn it on and test both the surface burners and oven. Some smoke and odor upon first use is normal. If the range doesn’t operate, check that your fuse, circuit breaker and outlet connections are all in order, and consult a qualified electrician if needed.
Shop Whirlpool® Induction Ranges

Induction installation FAQs
After reviewing fit, power requirements and venting, you may still have questions about installing your induction cooktop or range. Read on to get answers to some of the most common questions.
A vent may be required depending on local codes. Even if it isn’t, a range hood above your cooktop can help remove smoke, odors and grease while you cook.
It could be due to incompatible cookware. Only ferromagnetic pots and pans will work. If the cooktop doesn't recognize the pan, the cooking zone won’t switch on. To check compatibility, hold a magnet to the bottom of the pan. If it sticks, the cookware will work. If cookware is compatible and the cooktop still isn’t heating, check that a circuit breaker has not tripped and consult your use and care guide.
Start by turning off the circuit breaker for one minute, then turning it back on to reset the cooktop. Also check that no objects, liquids or debris are putting pressure on the control panel and wipe the surface clean. If the error persists, consult the troubleshooting section of your use and care guide for model-specific error code definitions.
People with a pacemaker or similar medical device should use care when standing near an induction cooktop while it is on, as the electromagnetic field may affect the device. Consult your doctor or the manufacturer of your device for guidance before use.
Was this article helpful? Pass it on
Explore more with Whirlpool brand