
What is a trim kit for a microwave?
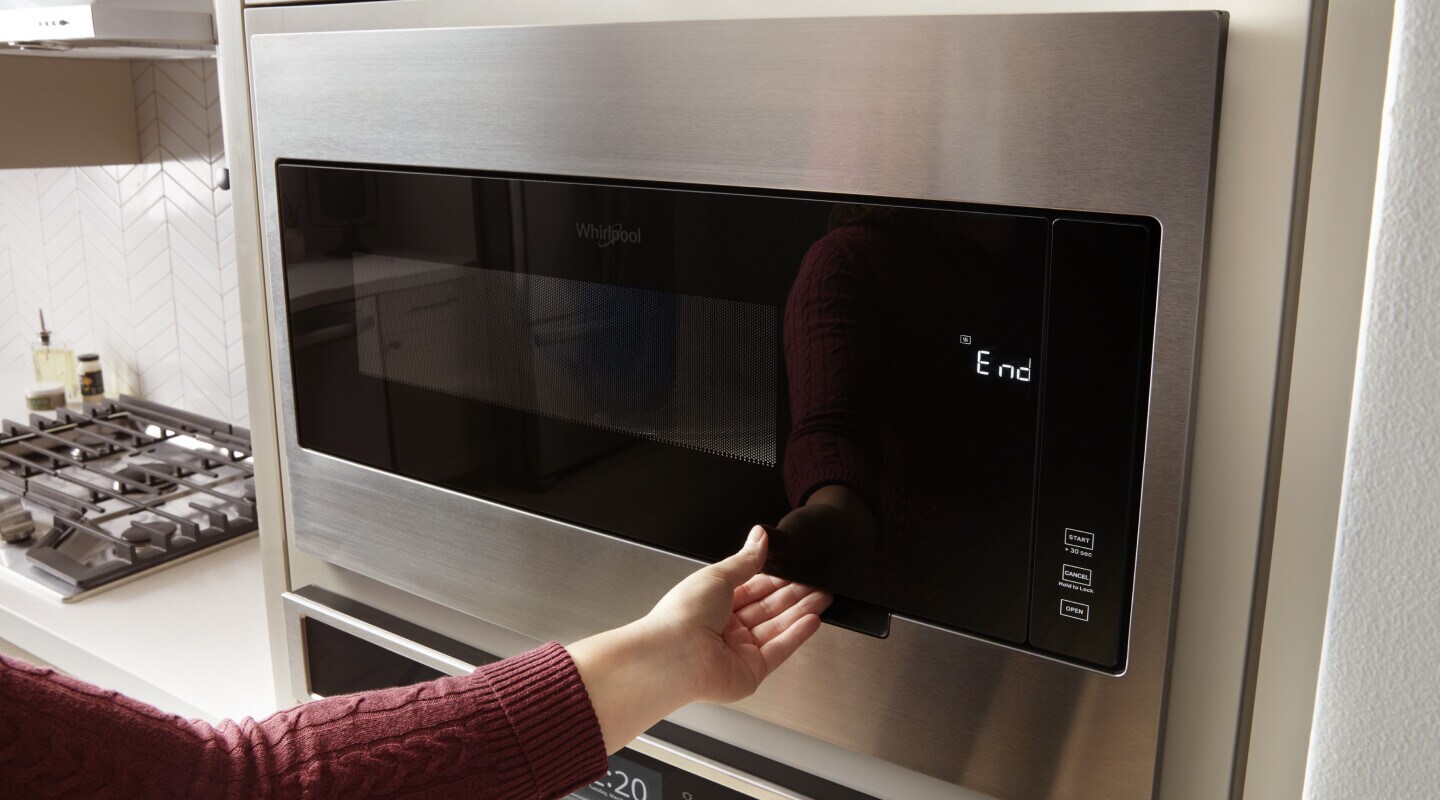
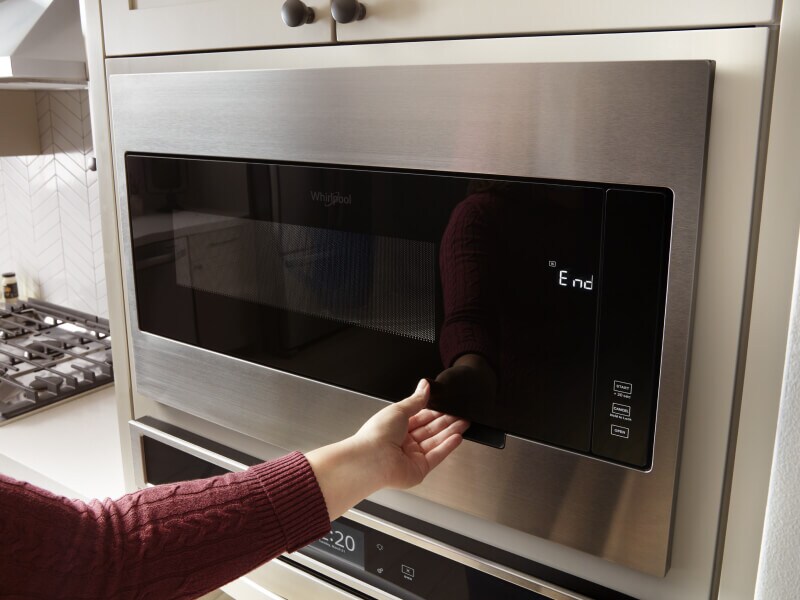
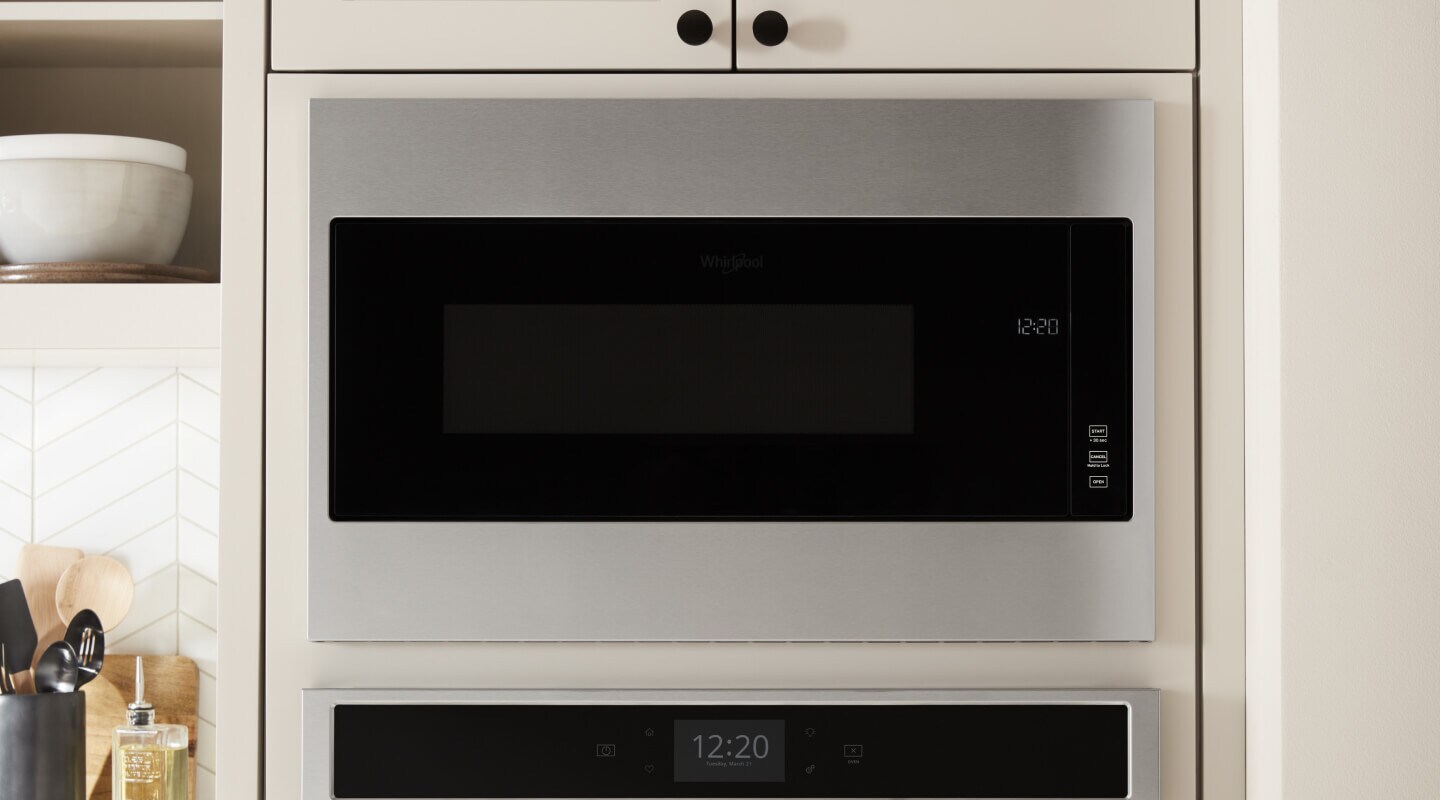
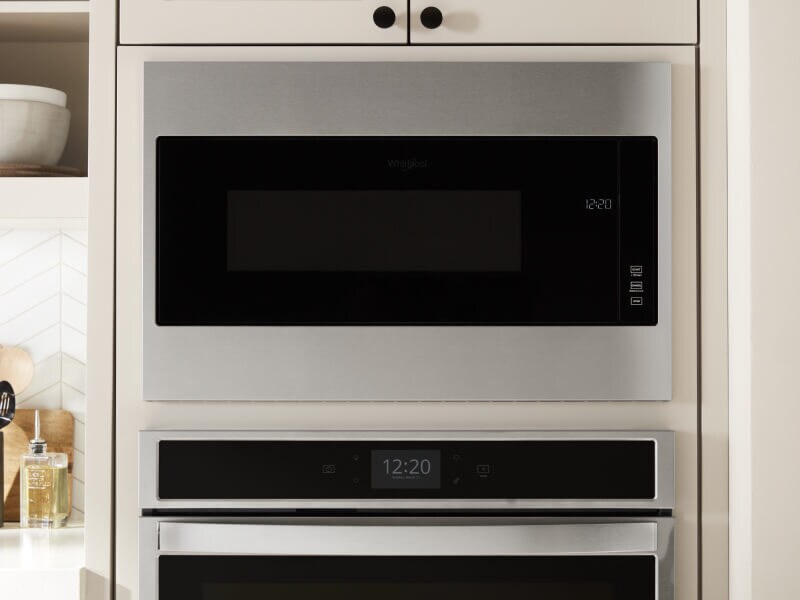
A microwave trim kit typically allows compatible microwaves to be installed within a cabinet or wall cutout for a built-in look. It frames the microwave, helps secure it in place and helps create a seamless, integrated appearance in your kitchen.
Read on to learn more about how microwave trim kits work, how to install one and what to consider when purchasing one for your space.
How does a microwave trim kit work?
A microwave trim kit frames compatible microwaves so they can be installed in a cabinet cutout, creating a built-in look. It helps secure the microwave and can give your kitchen a clean, integrated appearance.
Trim kits are sometimes used in kitchen remodels or new installations where space-saving and design continuity may be priorities. They typically include a trim frame and hardware to attach to your microwave and the cabinet, to enable your appliance to slide securely into the space.
Trim kits are usually model-specific, so it’s important to choose one that matches your microwave’s size and design. Trim kits help to create a seamless, built-in look when installing a microwave above a wall oven. Always refer to the product specifications and installation guide to ensure compatibility with your microwave and proper airflow.
What are the benefits of microwave trim kits?
Microwave trim kits can offer both functional and aesthetic advantages. They can help give a compatible microwave a sleek, built-in appearance while clearing up valuable counter space.
Trim kits also help provide flexibility in microwave placement—allowing compatible microwaves to be installed above select single wall ovens or on their own within cabinetry. In addition to enhancing visual appeal, they can help support proper airflow and a secure installation.
What to consider when buying a microwave trim kit
Before purchasing a microwave trim kit, it’s important to make sure it’s the right fit—both literally and functionally—for your space and appliance. While trim kits can offer a polished, built-in look and free up valuable counter space, there are several details to consider to help ensure proper installation, performance and design integration.
From confirming your microwave’s compatibility to evaluating cabinet measurements and ventilation needs, the following factors can help you choose the right trim kit for your setup.
1. Microwave specifications
Before selecting a trim kit, verify that it’s compatible with your microwave model. Many trim kits are designed to fit specific dimensions and venting needs, so alignment is essential for proper installation.
Not all microwaves are designed to be built in, so review the manufacturer’s guidelines closely. Look for recommended trim kit models in the product specifications and compare the microwave’s size to ensure a secure fit. This step is crucial to help prevent installation issues and help ensure the microwave operates correctly.
2. Kitchen layout
Understanding your kitchen’s layout and accurately measuring your cabinetry are critical when selecting a microwave trim kit. Measure the height, width and depth of the installation area to help confirm the trim kit and microwave will fit well.
Consider nearby appliances, cabinet doors or other features that may obstruct the install. The structure and strength of your cabinetry should also be evaluated to ensure it can support the microwave and the trim kit. Getting these measurements right can help avoid fit issues and help ensure a smooth, built-in finish.
3. Microwave ventilation needs
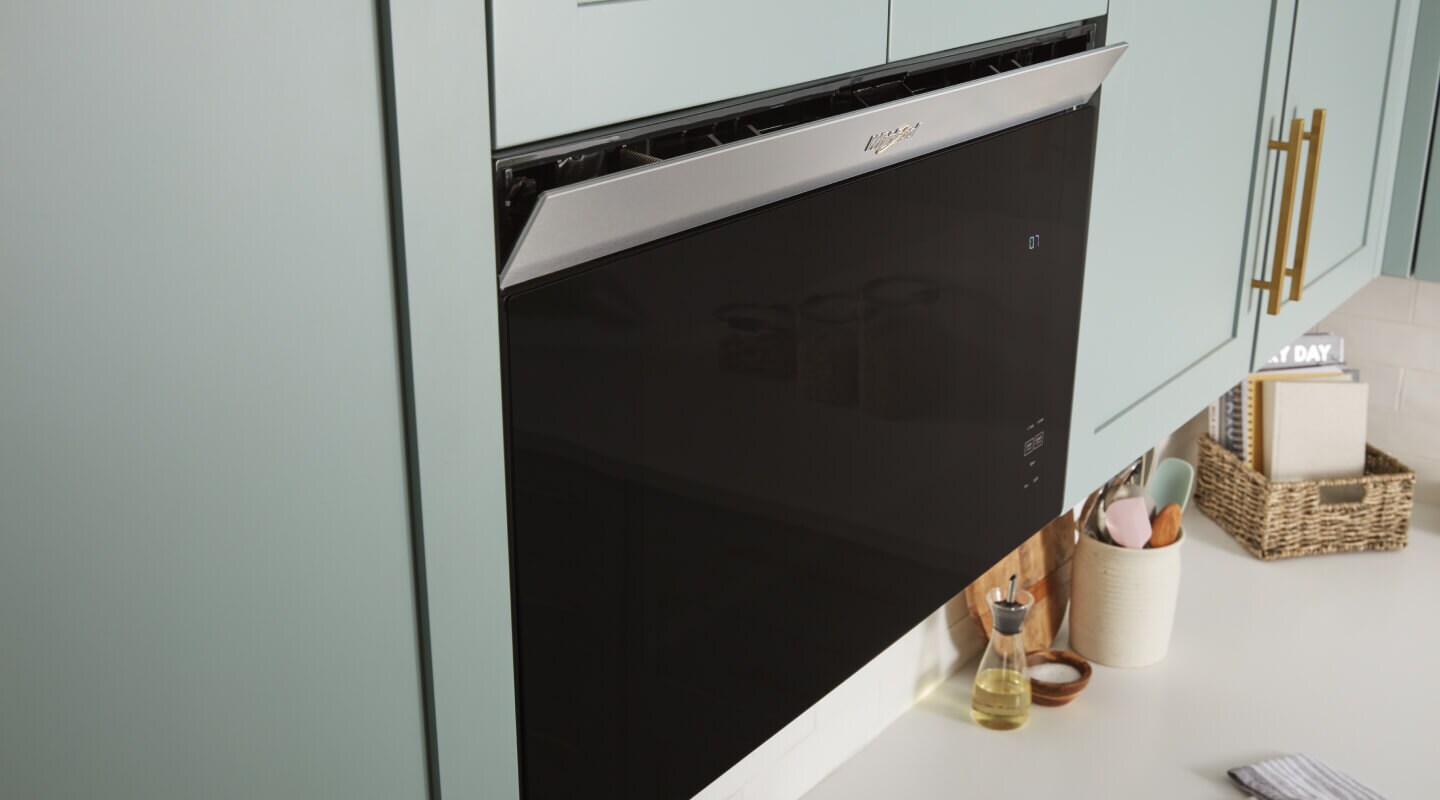
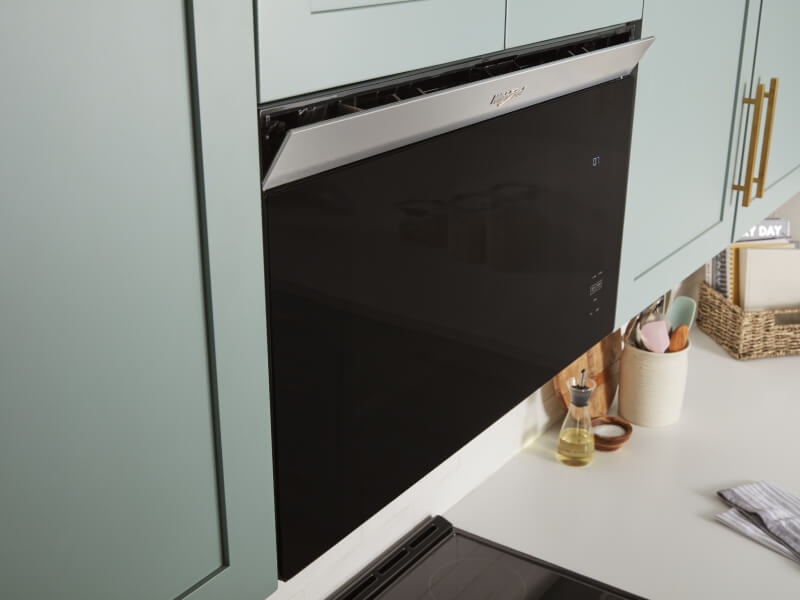
Proper ventilation is essential for your microwave to operate as intended, especially when installed with a trim kit. Many branded kits align with your microwave’s design to help ensure adequate airflow. Before installation, review the instructions for any ventilation requirements or configurations that are specific to your model. Also consider the microwave’s location within your kitchen to help confirm that airflow won’t be blocked by surrounding cabinetry or appliances.
4. Color and finish
Trim kits come in a variety of colors and finishes to match your microwave and surrounding appliances. Choosing a finish that complements your kitchen’s design can help create a cohesive, built-in look. Common options include stainless steel, black and white.
5. Ease of Installation
Before choosing a trim kit, it’s important to consider how complex the installation may be, especially if you plan to install it yourself. Some kits may include detailed instructions, labeled hardware and user-friendly designs, while others may require more advanced tools or modifications to your cabinetry. Look for kits that include all necessary components and check whether the manufacturer provides clear guidance or video support. It is often helpful to choose a kit specifically designed by the manufacturer of your microwave.

Whirlpool® Microwaves
A microwave for every home
From countertop options to microwave hood combinations, find the right fit for your family with microwaves from Whirlpool brand
Shop Whirlpool® Microwave Trim Kits
Microwave trim kits can help transform a standard microwave into a sleek, built-in appliance. They create a polished look, help free up counter space and help give your appliance a sleek, built-in look. Explore Whirlpool® Microwave Trim Kits and other replacement parts and accessories to help your appliances look great and perform at their best.
How do you install a microwave trim kit?
To install a microwave trim kit, follow the steps provided in the kit’s manual. Though steps vary by brand and model, most involve preparing the microwave, securing ductwork, centering the unit and finally, attaching the trim frame to the cabinet.
Installation steps may resemble the following:

Step 1: Prepare the microwave
Place the mounting rails on the right and left sides of the microwave bottom.

Step 2: Prepare the cabinet
Mark the centerline, position and secure the bottom duct, and drill pilot holes as instructed in your user manual. If your model requires it, fix mounting rails on the cabinet bottom with screws.

Step 3: Install the microwave
Plug in the microwave, align it on the rails or ductwork and push the microwave into position.

Step 4: Attach the trim frame
Position the trim frame over the opening and use the provided screws to secure it as instructed in your user manual.
Important:
Always follow your model’s installation instructions carefully. Trim kit steps and requirements will vary depending on the kit, your microwave model and your cabinets’ design. Always observe all warnings and use the appropriate tools.
Do you need a trim kit for a built-in microwave?
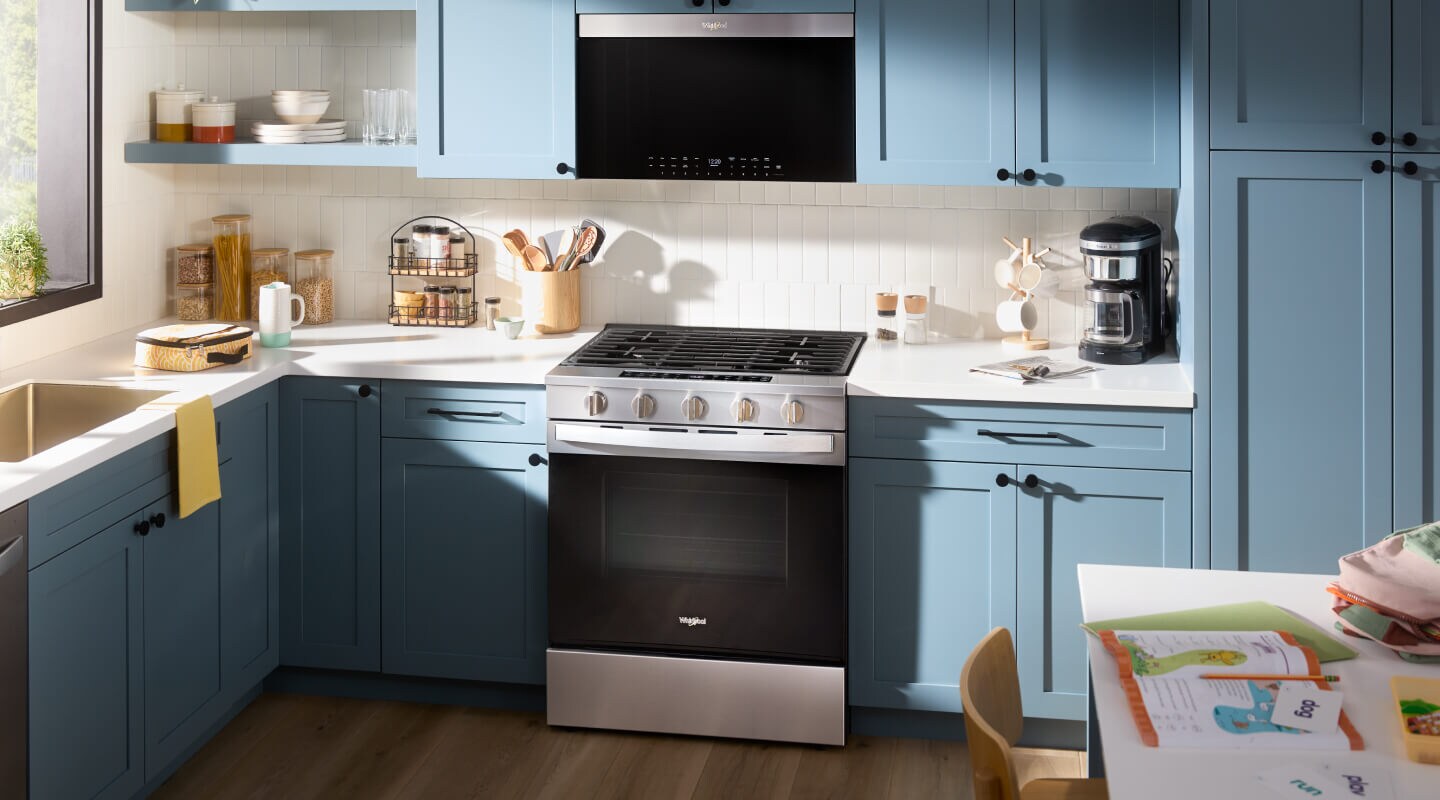
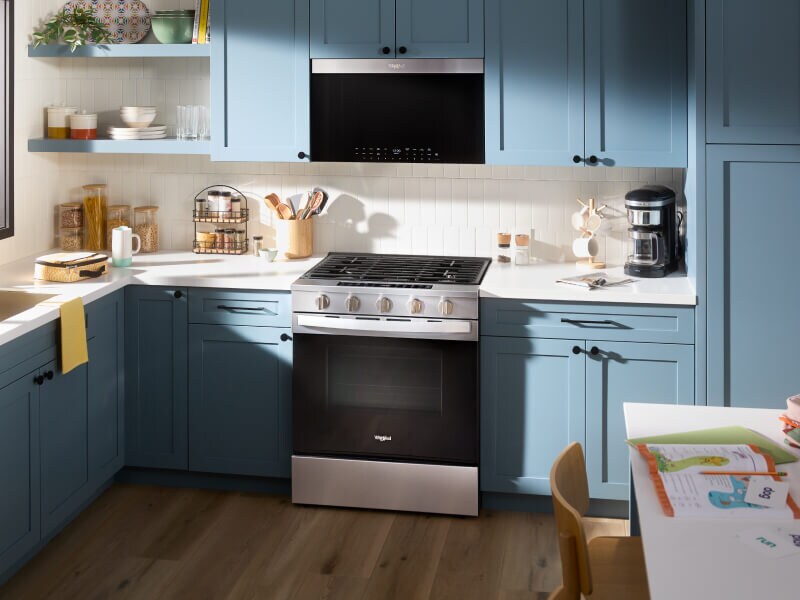
A trim kit isn’t required for installing a built-in microwave, as these models are typically designed to fit into cabinetry on their own. However, if you’re using a countertop microwave in a built-in space, a trim kit can help create a clean, built-in appearance and help ensure proper ventilation.
Explore Whirlpool® Microwaves and Trim Kits
Whirlpool® Microwaves have the features you need to get meals on the table and get back to what matters most. And with the right trim kit, your compatible microwave can seamlessly integrate into your kitchen cabinetry for a built-in, integrated look. Explore select Whirlpool® Microwaves with features like Adjustable Cooktop Lighting, so you can keep an eye on what's cooking below the microwave or keep a nightlight on in the kitchen.
Was this article helpful? Pass it on
Learn more with Whirlpool brand


home heartbeat
Ready for more tips, home hacks and appliance guides?


