


 New Code Sent!
What is a broiler?
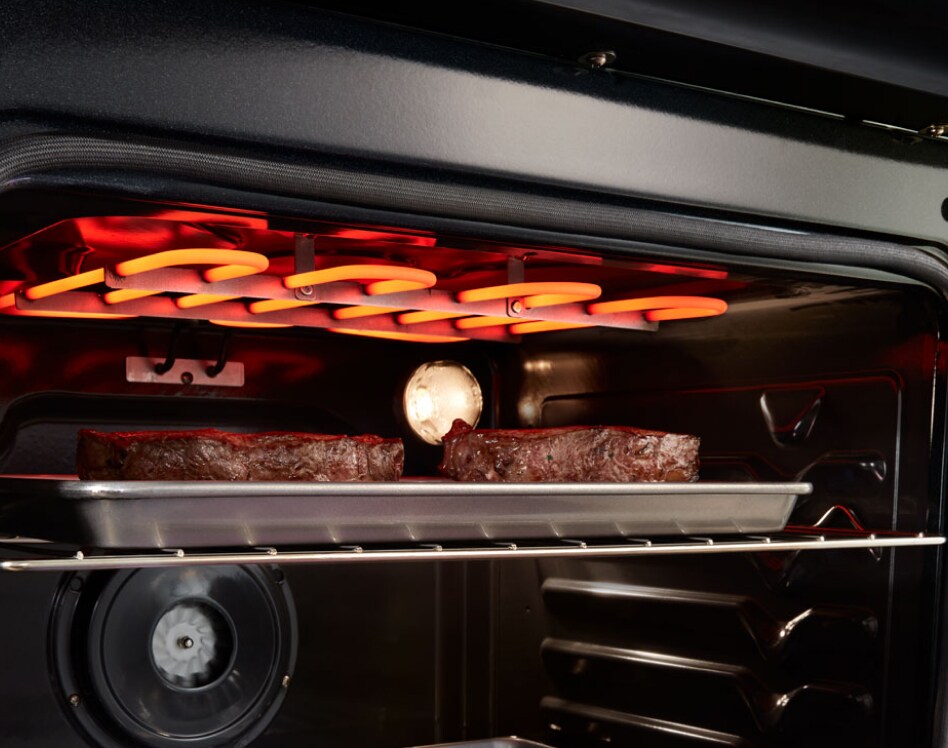
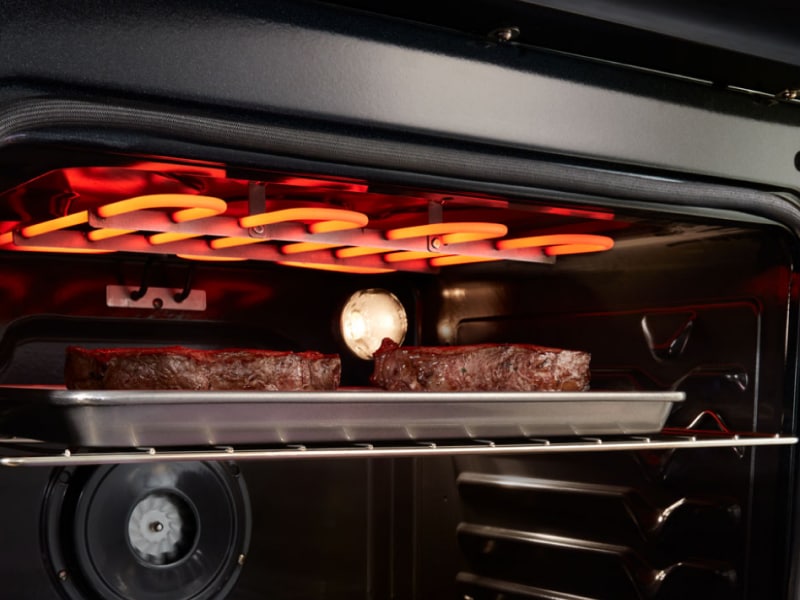
A broiler is an element in your oven – usually located near the top – that provides high, direct heat much like a grill. Broiling places food close to your oven’s heating element so that it can quickly cook, brown, char or caramelize. This can give food more complex flavors or help you achieve certain textures.
When you roast or bake food in your oven, the heating elements warm the air inside – cooking your food as it is surrounded by hot, dry air. In contrast, broiling exposes one side of your food to high, direct heat, making it ideal for cooking foods like you would on a grill.
Broiling also allows you to finish cooked foods by creating a crust on steaks, crisping bread, charring vegetables or melting and browning cheese toppings.
This special oven setting is a great way to add extra flavor to your favorite foods, but most people aren’t sure how to use it. We’re here to help. Our guide on how to use a broiler will help you learn the basics of this oven function.


Is a broiler the same as an oven?
A broiler is not the same as an oven. A broiler is an element inside the oven. The oven cooks your food by surrounding it with hot air produced by the heating element. A broiler exposes your food to high, direct heat, much like cooking on a grill.
Do all ovens have a broiler?
Most ovens have a broiler that is located inside the main part of the oven or in a separate compartment underneath. Broilers inside the oven usually have a dedicated heating element.
When the broiler-heating element is on the top of the oven, you will need to move a rack to the top-most position to use it. In other ovens, the broiler is a separate compartment underneath the actual oven, and it uses the oven’s bottom heating element.
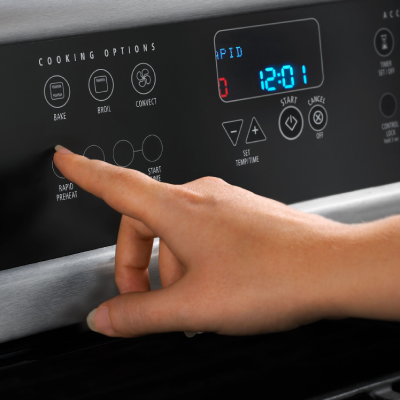
How to broil in an oven – the basics
Ready to try out your broiler? While every recipe is different, these general guidelines on how to use a broiler can help you get started:
Step 1: Find your broiler
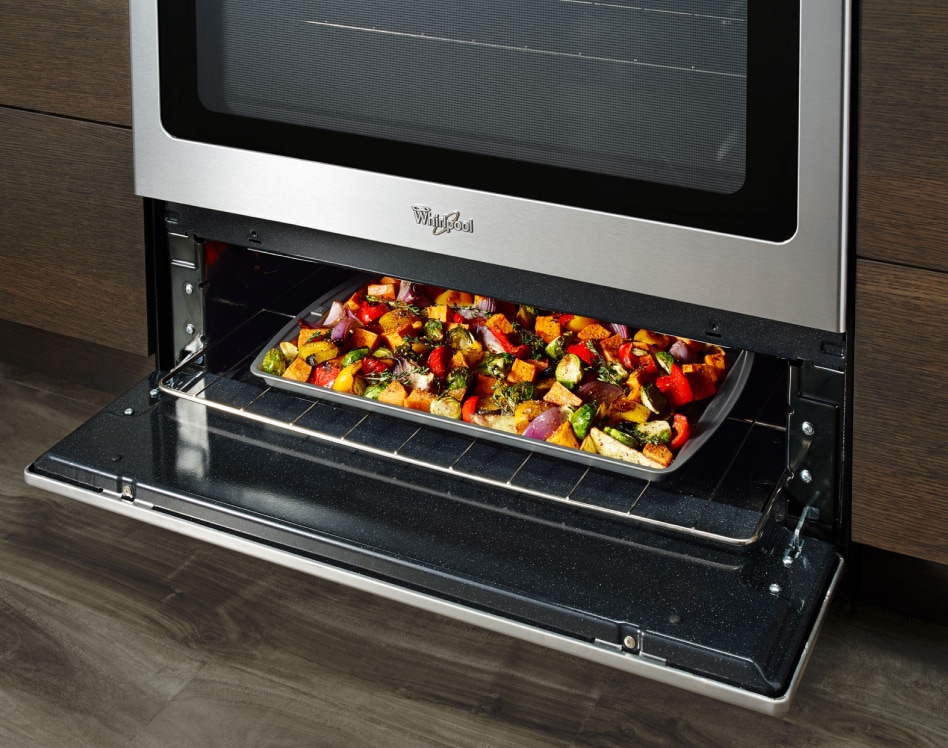
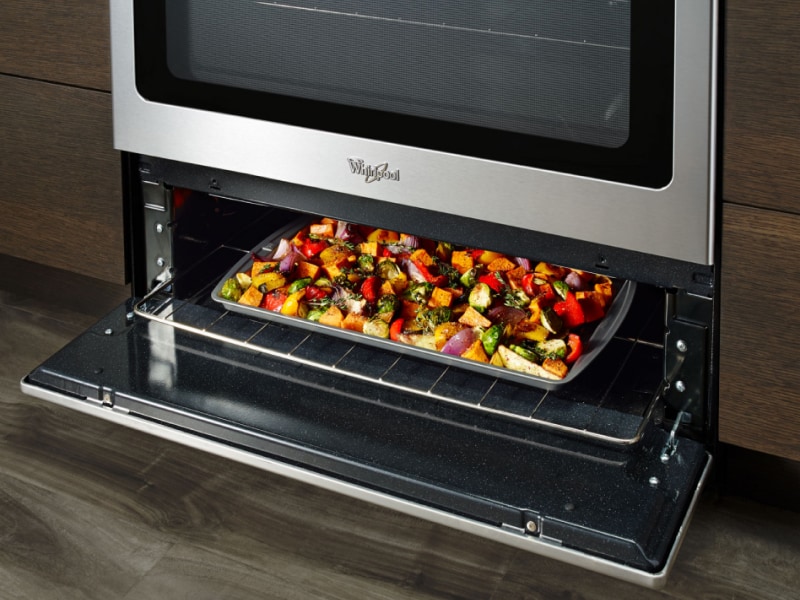
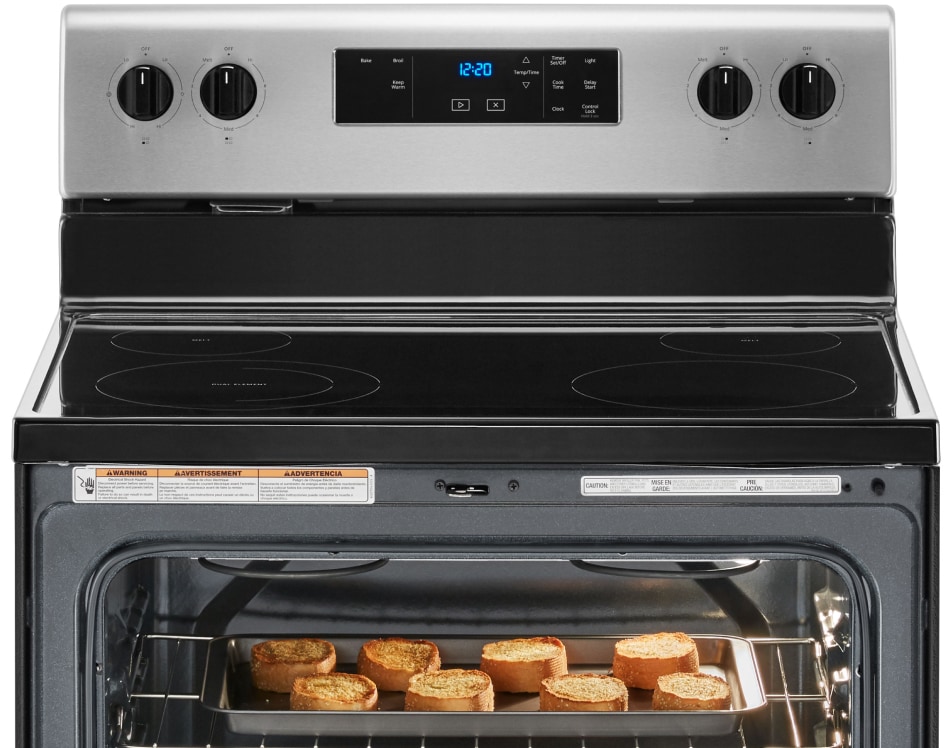
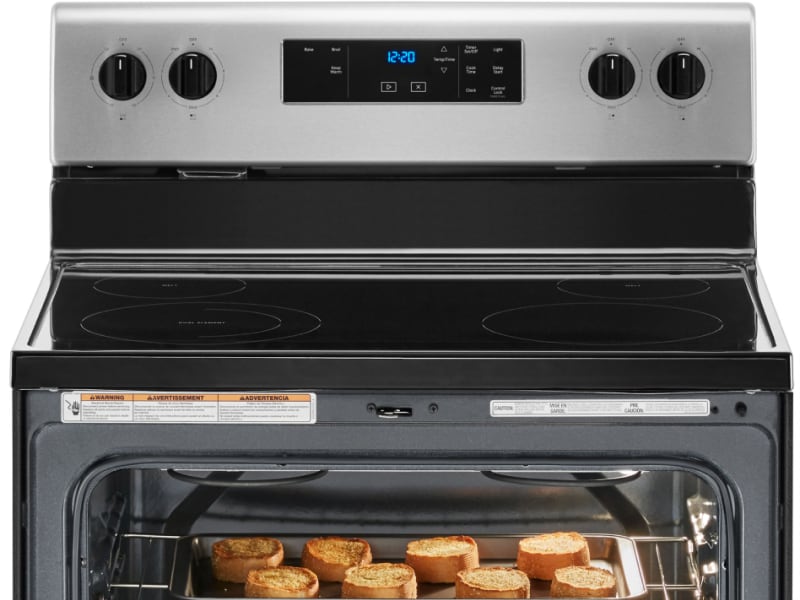
First, determine where your broiler is located. You can usually find your oven’s broiler near the top of the oven cavity, though some ovens have separate broiler drawers located under the main oven cavity. Check your oven’s user guide for more information.
Step 2: Use broiling cookware
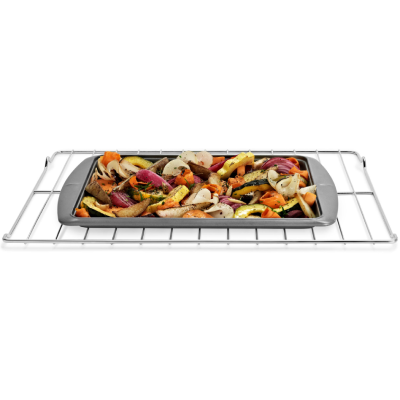
Next, find the right cookware. Some ovens may come with a metal broiling pan consisting of a rack on top and a drip pan underneath. If you don’t have a broiling pan, use a shallow metal baking pan built to handle high temperatures without flexing, along with a baking rack to hold meat out of grease. You can also use a cast iron skillet for broiling meats. Avoid using glass cookware when broiling – the intense heat can cause it to crack or even shatter.
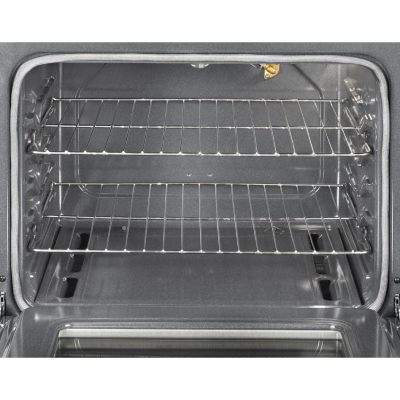
Step 3: Adjust your oven racks
Before you preheat your broiler, you should always check to make sure your oven racks are adjusted based on what you’re cooking. In general, aim to have a 3-5 inch gap between your broiler and the top of your meat. Thinner cuts and foods that benefit from heavy browning and caramelization should be placed closer to the broil element. Foods that are thicker cuts or bone-in take longer to cook and benefit from being located farther from the broil element to allow them to cook to the center and reduce the chance of burning. Overall, the closer you place your food to the broiler, the faster it will cook. Check your recipe to find the right rack placement for your particular dish.
Step 4: Preheat your broiler
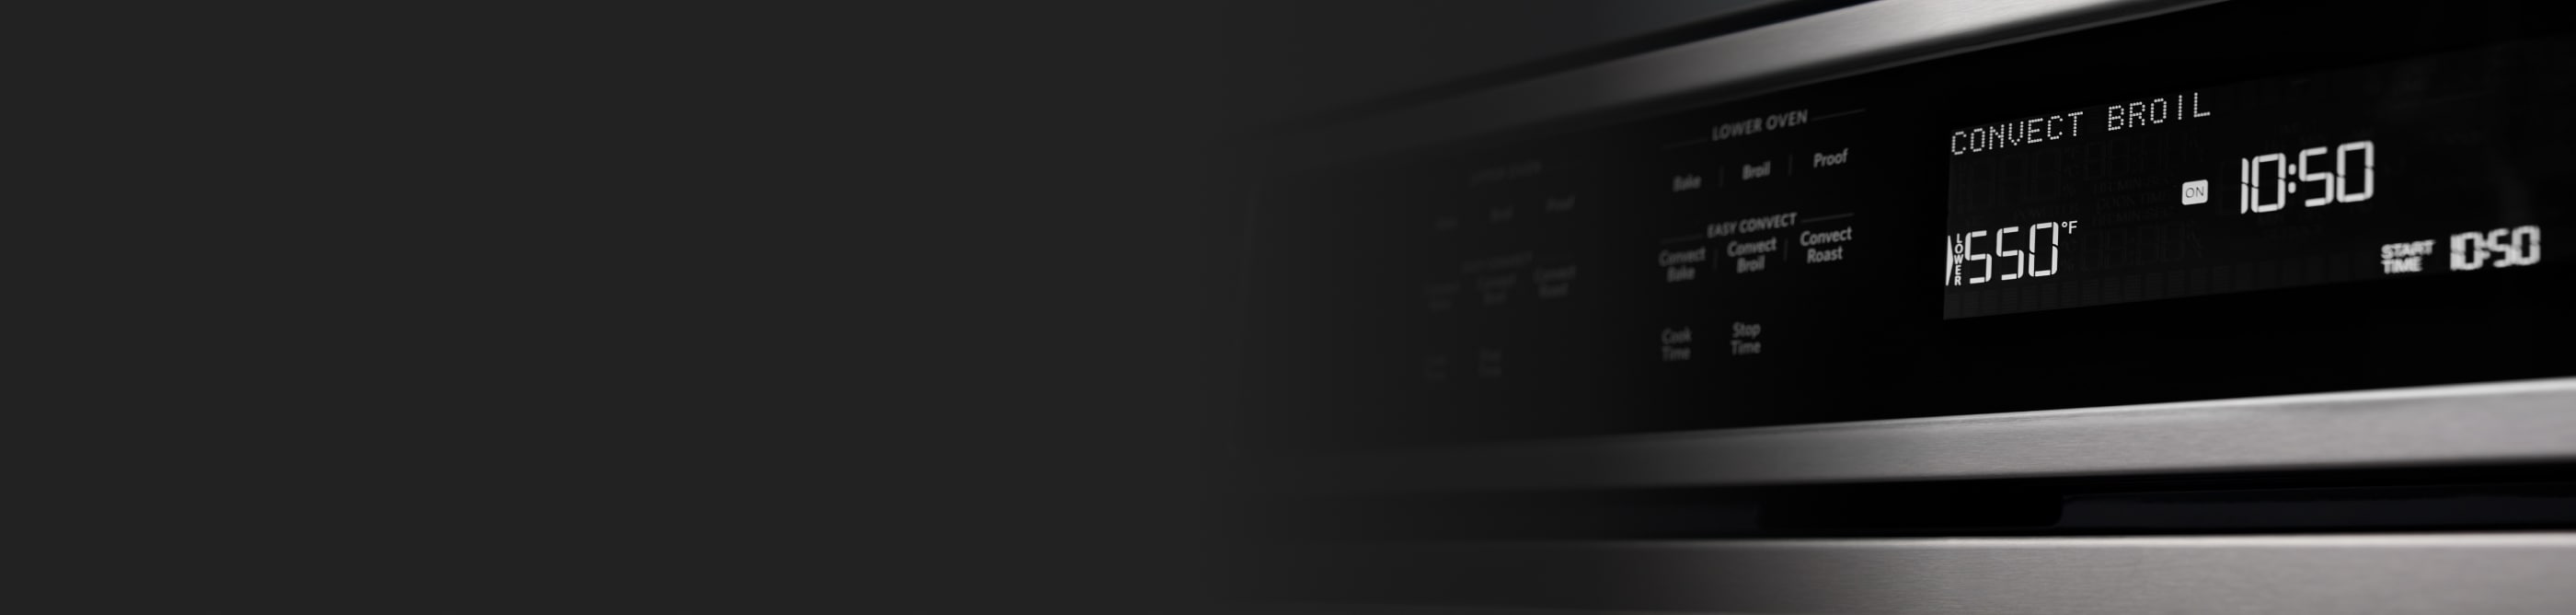
Once your racks are in place, let your broiler preheat for generally 5 minutes or so before placing your food inside. Preheating times can vary based on your oven, so check your user guide to see how much time you’ll need. Some broilers make a noise to indicate that they are fully preheated. While some broilers operate using an on/off switch, many ovens do have a low/high function or allow you to set a particular temperature. Check your recipe to see what setting you need to use. Use the high setting when broiling thin cuts of meat that you prefer seared in natural juices and less done on their interiors. Use the low broil setting with thicker cuts of meat that are better cooked all the way through. You can also learn more about different oven settings with our guide.
Step 5: Monitor your food broiling
Broiling takes place under high radiant heat, so it’s important to stay close by and monitor your food as it broils. When broiling a cut of meat that’s ¾ inch to 1 inch thick, cook on high for 8 to 18 minutes and until done at a temperature between 145 ℉ to 160 ℉. Broiling thicker meats, like ground burger patties, requires between 10 to 15 minutes of cooking until the inside of the patty reaches 160 ℉. It’s best to use your oven light or open the oven door to check on your food for browning throughout the cooking process.
Shop the latest deals on select Whirlpool major appliances Shop Now
Shop Whirlpool® ranges
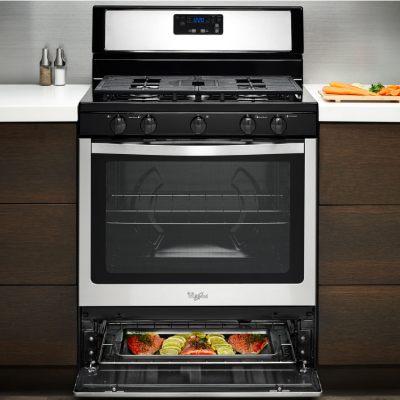
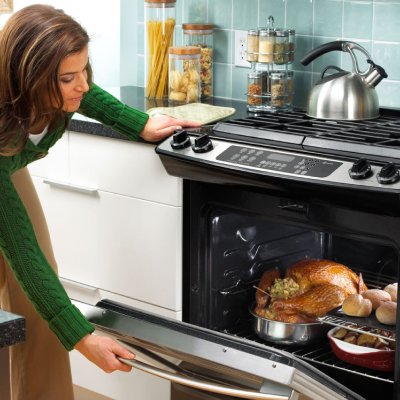
Whirlpool brand offers a variety of ranges with broiling capabilities to match your kitchen’s style and layout. Place food close to the oven’s top heating element using the Broil Setting, and you can quickly sear meat, char vegetables, brown lasagna, caramelize the top of a casserole and more. Plus, with features such as Frozen Bake™ Technology and Fan Convection Cooking, you can get your family’s favorite meals on the table in less steps.
How to broil meats, vegetables and more
Much like grilling, broiling is a fun way to bring out new flavors in familiar foods. Before you start experimenting, it’s important to understand some of the basics for different types of foods.
How to broil meats
1. Choose a variety of meats to broil
Choose a variety of meat that has a moderate thickness. Examples include ribeye, pork chops, chicken breasts or shrimp. If your meat has not been cooked yet, make sure your meat is thawed and has been out of the refrigerator at room temperature for 30 minutes before broiling. This will help keep the meat from charring on the outside but being undercooked on the inside.
2. Adjust your oven racks
Adjust your oven racks based on your recipe, then set your broiler to preheat. Here are some examples of popular cuts of meat and how to broil them:
If cooking a tenderloin steak cut that’s 1 inch thick, place it 2-3 inches from the broiler and cook on high for 13-16 minutes.
If cooking a bone-in pork chop that’s ¾ inches to 1 inch thick, broil it on high for 9-12 minutes.
- If cooking a lamb sirloin that’s 1 inch thick, broil it on high for 12-15 minutes.
3. Prepare the meat
If you’re using red meat, pat it dry before seasoning and trimming away excess fat. If you’re broiling chicken or fish, brush the meat down with a light coating of oil or marinade. Avoid using too much – this could cause excessive smoke in your oven. Sweetened marinades may also burn before cooking is complete.
4. Prepare your broiler pan
Prepare your broiler pan by lining the top and bottom halves with aluminum foil, then spraying or brushing with a light coat of oil. Use a knife to carefully pierce the foil on the top half of the broiler pan. This will allow excess fats, oils or marinade to drain away.
5. Follow the recipe
Cook your meat according to your recipe. You can watch its progress through the oven door; if you need to turn your meat, use tongs or a wide spatula to keep the meat intact.
6. Check meat temperature
Ensure your meat is cooked by using a meat thermometer. If the surface of the meat has good browning but the center is too cool, move the rack away from the broil element and continue cooking.
7. Remove meat from pan
Once your meat is done, remove it from the pan right away to avoid overcooking. You can let the meat rest for 5-10 minutes to complete the cooking process. For juicy results, make a foil tent over the meat while it rests. To further enhance flavor, learn how to deglaze a pan to make a delicious sauce or gravy.
How to broil produce in an oven
1. Select produce to broil
Choose the fruits or vegetables you wish to broil. Some examples include bell peppers, onions, tomatoes, peaches, mangoes or pineapples.
2. Adjust oven racks
Adjust your oven racks and preheat your broiler on a low setting.
3. Prepare produce
Cut your fruit or vegetables into large chunks. (It’s ok if they’re uneven.) Broilers cook quickly, so larger pieces are better and won’t burn as easily.
4. Prepare broiler pan
Prepare your broiler pan as you would for meat – line with foil and spray or brush with a light coat of oil. Remember to perforate the foil to allow juices to drain away.
5. Season produce
For added flavor, toss your vegetables with olive oil and salt or dried herbs. For fruit, sprinkle evenly with sugar.
6. Place produce in oven
Once the broiler is ready, place your produce in the oven and cook or char them based on your recipe for about 10 minutes until tender and browned. Monitor your fruit or vegetables regularly and turn them frequently to prevent burning.
7. Remove produce from oven
Once your produce has cooked, remove it from the broiling pan and let it rest. You can then serve the produce as is or cut it into smaller pieces for use in recipes.
How to broil bread or cheese toppings
1. Adjust oven rack
Adjust the oven rack so your bread or casserole dish can fit under the broiler.
2. Preheat broiler
Preheat your broiler to a low setting.
3. Select baking dish
Place bread on a shallow baking dish or broiler pan. Sprinkle the bread with cheese if desired.
4. Place bread in broiler
Place the bread in the broiler for 1-2 minutes. Monitor your bread during this time to ensure it does not scorch or burn. Remove the bread when it is golden brown. If you sprinkled bread with cheese, remove it when the cheese is golden brown and bubbling.
Shop the latest deals on select Whirlpool major appliances Shop Now
Shop all Whirlpool® ovens and ranges
Broiling foods is a great way to bring exciting new flavors to your family’s table. That’s why Whirlpool® ranges and wall ovens come with broiler options that help you make the most of your favorite recipes. Explore our selection and find the right fit for your kitchen today.
Discover more from Whirlpool brand
home heartbeat
Ready for more tips, home hacks and appliance guides?
